Get Started with WATI in 10 steps
Create your first chatbot in WATI
Connect your number in WATI
How to add contacts?
Overview
How to send a broadcast?
How to create template messages?
Introduction to Team Inbox
WhatsApp account profile set-up
How to add operators and create teams
Get started with WATI
Auto replies and OOO messages
Try our product
Book a demo with WATI
Explore our Free trial
How To Import WhatsApp Chats
Backup WhatsApp Chats
WhatsApp Chat Button Integration
How do I scan the QR Code on WATI Trial?
Creating click-to-chat link
Get your own WATI custom Sub-domain
What is the difference between Whatsapp Business and WATI?
WATI Pricing
WATI Subscription
How to get more Add-On Users?
Wati Pricing Update
What are Monthly Chatbot Sessions?
Wati Pricing Plans
RBI e-Mandate Latest Guidelines
Export Chats from Wati
Conversational Based Pricing
How to top-up WATI credits?
What is Conversation Based Pricing?
Estimating your conversation usage cost
Top-up WATI credits
Set up your WATI account
Embedded Sign Up
How to Change the Connected Phone Number/Business Portfolio
What are possible common errors in embedded signup flow?
Display Name
Phone Number
Free WhatsApp Number
Phone Number Connection Status
Migrate your phone number to WATI from another BSP
How to add WhatsApp number to Facebook or Instagram pages
How can I create a QR Code for my WhatsApp Number?
How should I choose a phone number for WhatsApp?
Steps to use phone number that has been registered with Whatsapp Business before
Facebook Business Verification
Meta Business Verification not required to Increase your Messaging Limit
Why your business can't be verified?
How can I contact Facebook Team for Business Verification Issues?
What if the 'Start Verification' button is greyed?
What documents are required for Facebook Business Verification?
What are the steps to get Facebook Business Verification?
How to check whether your business is verified?
Where to find the Facebook Business Manager ID?
Does Facebook Business Verification Required?
Commerce Policy Rejection (CPR)
How to subscribe to account update web-hooks?
How to appeal to facebook if Business actually follows WhatsApp Commerce policies?
What kind of business will be rejected by WhatsApp?
WhatsApp Manager ID (WABA)
How to check WhatsApp Business Account (WABA) Status?
Everything you need to know about your WhatsApp Manager
How to access WhatsApp Manager?
Official Business Account
WATI and its Features
Team Inbox
Multi-channel Team Inbox
Phone number masking in Team Inbox
Different types of chat status in WATI
Supported media types & sizes on WATI
Copy Conversation URL
WATI Account running Slow
What happens if someone you blocked messages you again?
How to download chats from WATI?
How to search and filter chats?
How to use quick replies/canned replies?
How to add custom parameters/attributes?
How to add a tag to chat?
How to add contact to Favorite?
How to start a new Chat?
Broadcast
Why is Meta/Wati restricting my messages?
How can I enable click tracking for my templates?
"Message Undeliverable" when sending template messages
How can I use coupon codes?
How can I send catalog messages?
How to easily broadcast to a subset of your Shopify customers on Wati?
Messaging limit for Click-to-WhatsApp Ads (CTWA)
How to allow users to Opt-Out or Unsubscribe from Broadcasts?
Troubleshoot common errors in WATI
How can I search and filter Broadcasts?
Where can I see Broadcast Statistics?
What is a Broadcast History?
How do I edit or delete a scheduled broadcast?
Is there a limit of broadcast messages?
How to send message to someone who is not in the Contact List?
Tips to send personalized media content broadcast to each number
Building your WATI chatbot
Automation
How to make a Backward Chatbot?
How does WATI Automation Feature work?
What is WATI Automation Feature?
Routing
Keyword Action
Chatbot
How to use Chatbot Timer?
How to use Fallback Message
Automatic chat assignment (Round Robin assignment)
How to test a chatbot?
Why is my chatbot not working?
Advanced Chatbot Builder: Trigger Chatbot
How to create list message & message with reply button?
Advance Chatbot Builder: Time Delay
Export and Import of Chatbots
Chatbot Builder: What is a node and how many types of node?
How to collect data with Google sheets in Chatbots
Advance Chatbot Builder: Template
What features are available in advance chatbot builder
Advance chatbot builder: Webhook
Advance Chatbot builder: Update Attribute
Advance chatbot builder: Setup Assign User / Assign Team
Advance Chatbot Builder: Setup Subscribe or Unsubscribe
How to use Conditions for Chatbot Builder
How to use Questions for Chatbot builder?
How to build a chatbot?
What and how to access Chatbot Builder?
Reply Material
Default Action
Template Messages
How Long until My Template is Approved?
What are limited time offer templates?
How to create a carousel template
Troubleshoot template message rejection
How to trigger a chatbot with template?
How to add buttons to templates?
How to get Opt-in for WhatsApp Messaging?
How to use interactive messages?
Are non-transactional messages allowed with WhatsApp Business APIs?
How do I check and add credit to send broadcast template message
How to export and import template messages from one environment to a new environment?
How to add buttons with template messages?
How to avoid template message rejection?
Could I attach a PDF or image into a template message?
What are the supported languages for template update?
What is the max numbers of template message submission?
Template Category Guidelines
What are template formatting rules?
What is a template message?
What are actions in Template Messages Page?
What is the difference between template message and session message?
How do I increase the expiry time of chats?
Catalog
Mandatory fields & specifications required to be added to product items when creating catalog
How to set up a checkout flow for catalog orders using Wati Chatbot builder
How to add variants for items when Catalog created using Google Sheet
What are item variants in a catalog
How to enable Auto Checkout and collect payment for my Catalog order?
How to collect online payment for catalog orders using Razorpay payment gateway
Orders page to display Catalog orders
How to collect customer order details from Catalog orders using Google sheets
How to use Sync button for Catalog feature
How to trigger a reply message once the “View sent cart” catalog message is sent from customer
What are sets & How to create sets in your catalog
How to use Wati Chatbot builder to send Catalog Messages
How to send Catalog messages via Keyword action
How to enable Catalog feature for your Wati WhatsApp API number
Analytics and Reporting
Operator Performance chart
Team Inbox scheduled report
Overview section
Introduction to Team Inbox Analytics
Manage your Contacts
How to delete contact attribute in bulk?
How to add an attribute in bulk to a list of contacts?
How do I search and sort contacts?
How do I remove contacts?
How can I edit a contact?
How to import contacts to Wati?
How to add attributes to a contact?
How to add a single contact?
Manage your Users
How to force logout a specific user from all active sessions?
How to view, search and delete users?
Detail Access Menu of each Roles
How to add team and assign user to team?
Billing & Payments
What should you do in case of payment failures?
How can I download the past invoices?
How do I Cancel My WATI subscription?
What are the working hours for WATI Support Team?
Personalize your account
How to change my timezone in WATI?
How to change language for WATI?
How to manage notifications and sound?
Click To Whatsapp Ads
Are your CTWA ads giving you good conversions? Track this in Wati with 4 easy steps
Crash course in CTWA - all you need to know to get started!
CTWA Feature Highlights on WATI
Rule-based Automation
Learn more about Filters
Learn more about Actions in Rules
Learn more about Triggers
How to create an Attribute rule?
Whatsapp Flows
KnowBot
WATI Mobile App
WATI Integrations and API's
WATI Integrations
Google Sheets
How to trigger Whatsapp Shop using Templates
Why Whatsapp Message Sender is not working?
Why Google Sheet Automation is not working?
Add-on: Google Sheet Automation
Add-on: Google Spreadsheet WhatsApp Message Sender
WhatsApp Shop Plugin
Zoho
Create a contact in WATI when a new lead comes into ZOHO CRM
Assign chats in WATI based on Lead owner in Zoho CRM
Convert first time visitors to Zoho Lead/Contact using Zoho Flows
Get Notifications for new messages on WATI on Zoho CRM
How to send template message using Zoho CRM Workflow?
How to get Contact Attributes from WATI into Zoho CRM Leads/Contacts?
Why is my ZOHO integration not working?
Zoho CRM Integration
WATI Embedded Team Inbox in Zoho
How to send template message using Zoho CRM Extension?
Shopify
Measure ROI for Broadcast Campaigns
How to include Discount coupon in Shopify Automated messages
Overview of Optin tools available in Wati Shopify app
Enable Support for Your Shopify Stores Third Party Checkout Providers URL
Extra Custom Parameters available for Wati Shopify App Customers
How to enable checkout flow for Shopify catalog orders
How to Add Product Images in Abandoned Cart, Cash On Delivery & Order Confirmation Automated Messages
Cash On Delivery and Abandoned Cart analytics in Shopify app
Why are my Cash on Delivery Messages (COD) not sending in Shopify?
How to add/import Shopify Contacts into WATI
How to setup Cash On Delivery Automated message in Shopify app
How to use pre-defined variables in Shopify?
Variables available for Wati Shopify app integration
Shopify Integration for TRIAL user
How to Integrate Shopify app to Wati paid account
WooCommerce
How to use pre-defined variables in WooCommerce?
What are fixed variables for Woocomerce integration?
WooCommerce Integration
Hubspot
Create contact in HubSpot when new user messages your WhatsApp number
HubSpot WhatsApp Integration: Capture New WhatsApp Contacts To HubSpot For Free [Deprecated]
Hubspot Integration
Zapier
Calendly
Make.com / Integromat
LeadSquared
WhatsApp Templates for Leadsquared
WATI LeadSquared Integration
LeadSquared WhatsApp Integration: Capture All New WhatsApp Contacts To LeadSquared
Payment
Klaviyo
Salesforce Integration
WhatsApp and Razorpay Integration
Google Calendar Integration
WATI APIs
WATI Product Updates (Release Notes)
Terms, Privacy & Security
Instagram @Wati
Table of Contents
- All Categories
- WATI and its Features
- Building your WATI chatbot
- Reply Material
- How do I add a Reply Material?
How do I add a Reply Material?
Under Automation, the Reply Material tab allows users to set up reply material directly before creating keywords. Some support types are:
- In the "Reply Material" menu: Text, Document, Image, Video, Stickers, Chatbots, Sequence, Contact Attributes, Templates
- In the "Routing" menu: Send notification, Assign to the operator, Assign to the team.
Note: Please design the reply material such that some common content can be used in many keyword replies.

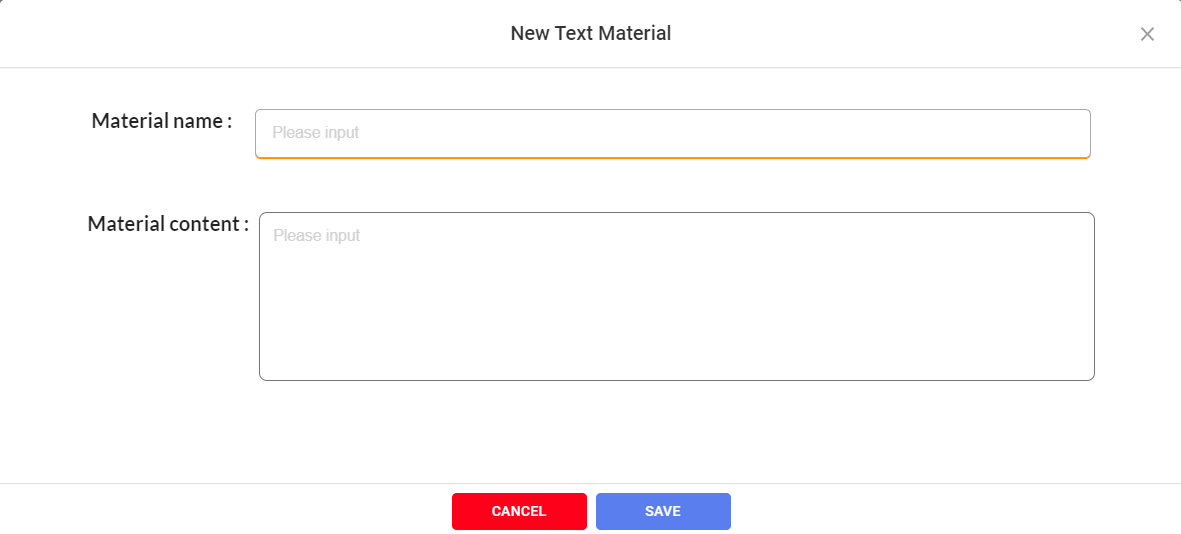
1. Reply Material: Text
- Click the menu "Text" in the "Reply Material" tab, then click the "Add Text" button
- Fill in the material name and material content then click the "Save" button
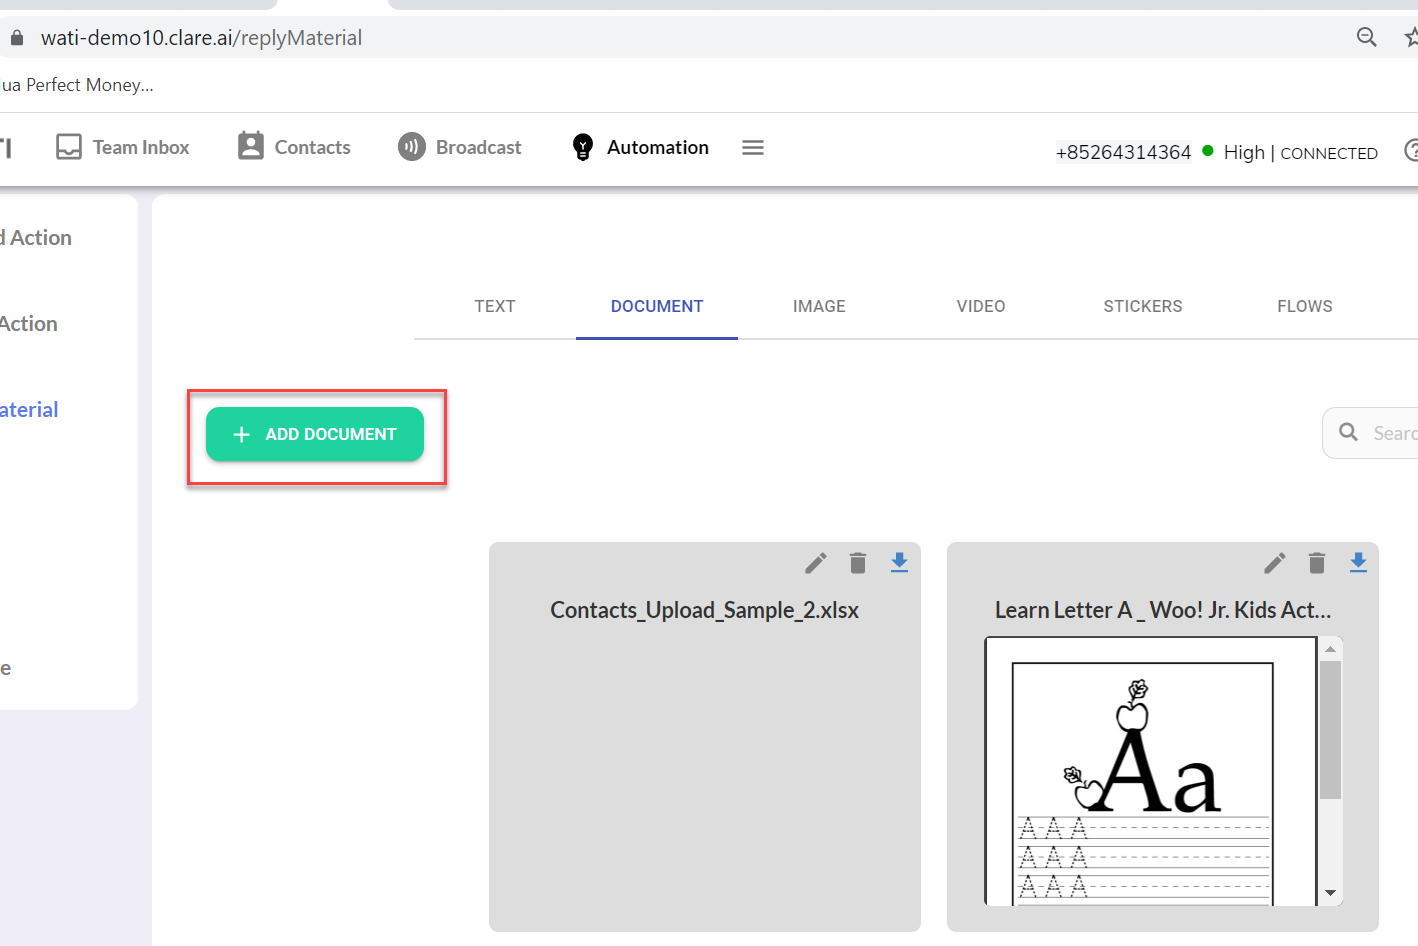
2. Reply Material: Document
- Click the menu "Document" in the "Reply Material" tab, then click the "Add Document" button
- Browse to select the existing file on your PC/laptop and click the "Open" button then wait for the process to finish.
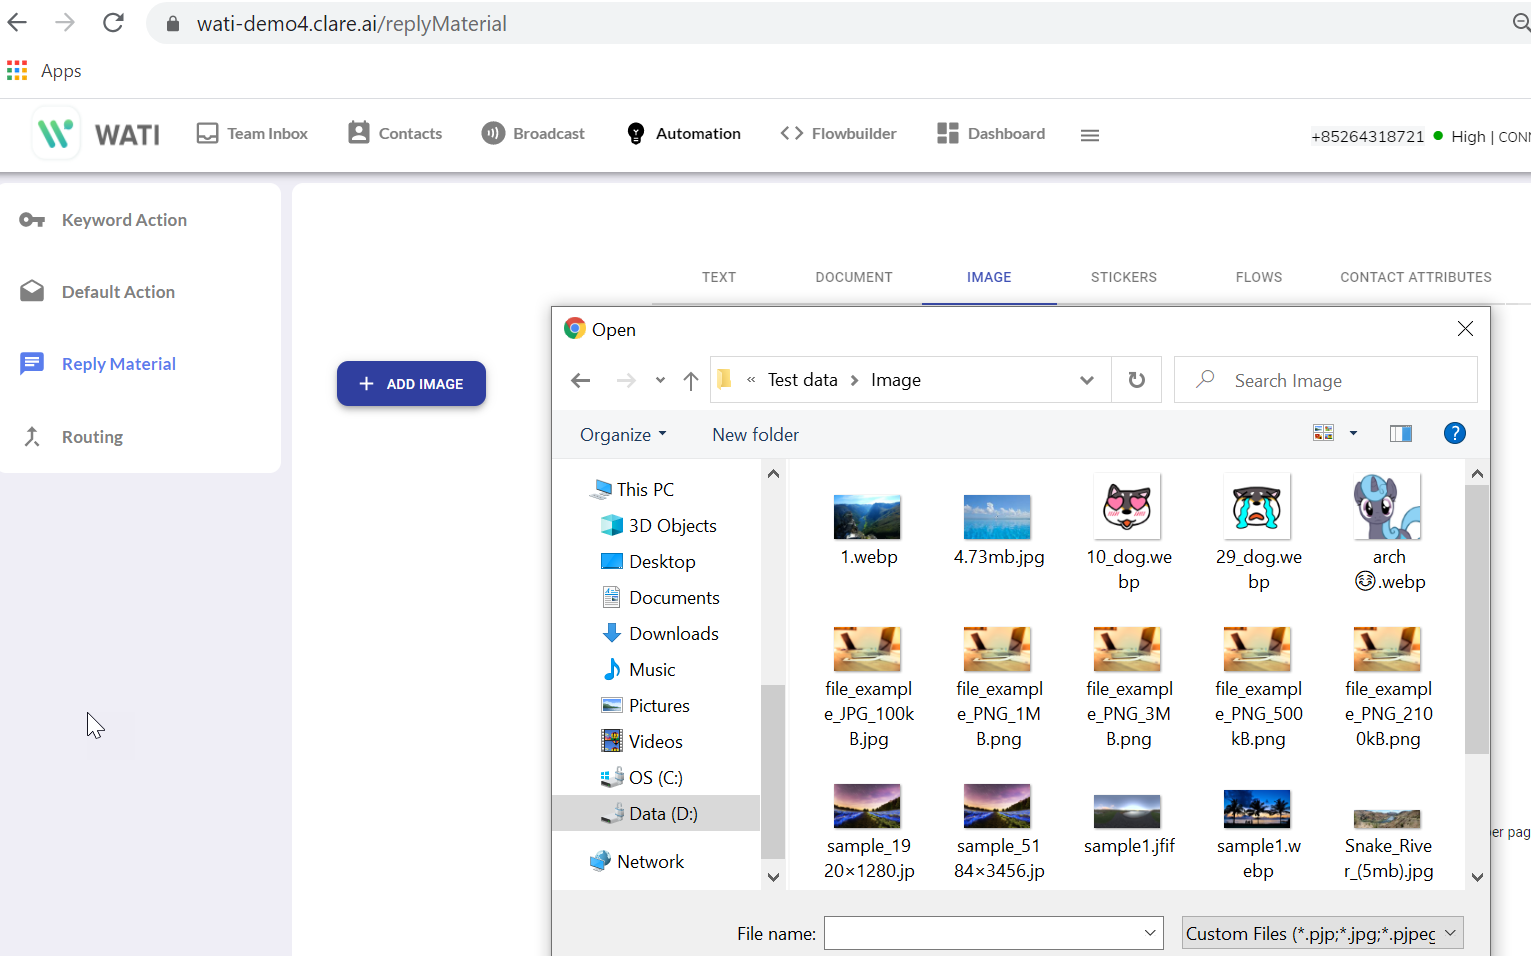
3. Reply Material: Image
- Click the menu "Image" in the "Reply Material" tab, then click the "Add Image" button
- Browse to select existing images on your PC/laptop and click the "Open" button then wait for the process to finish.
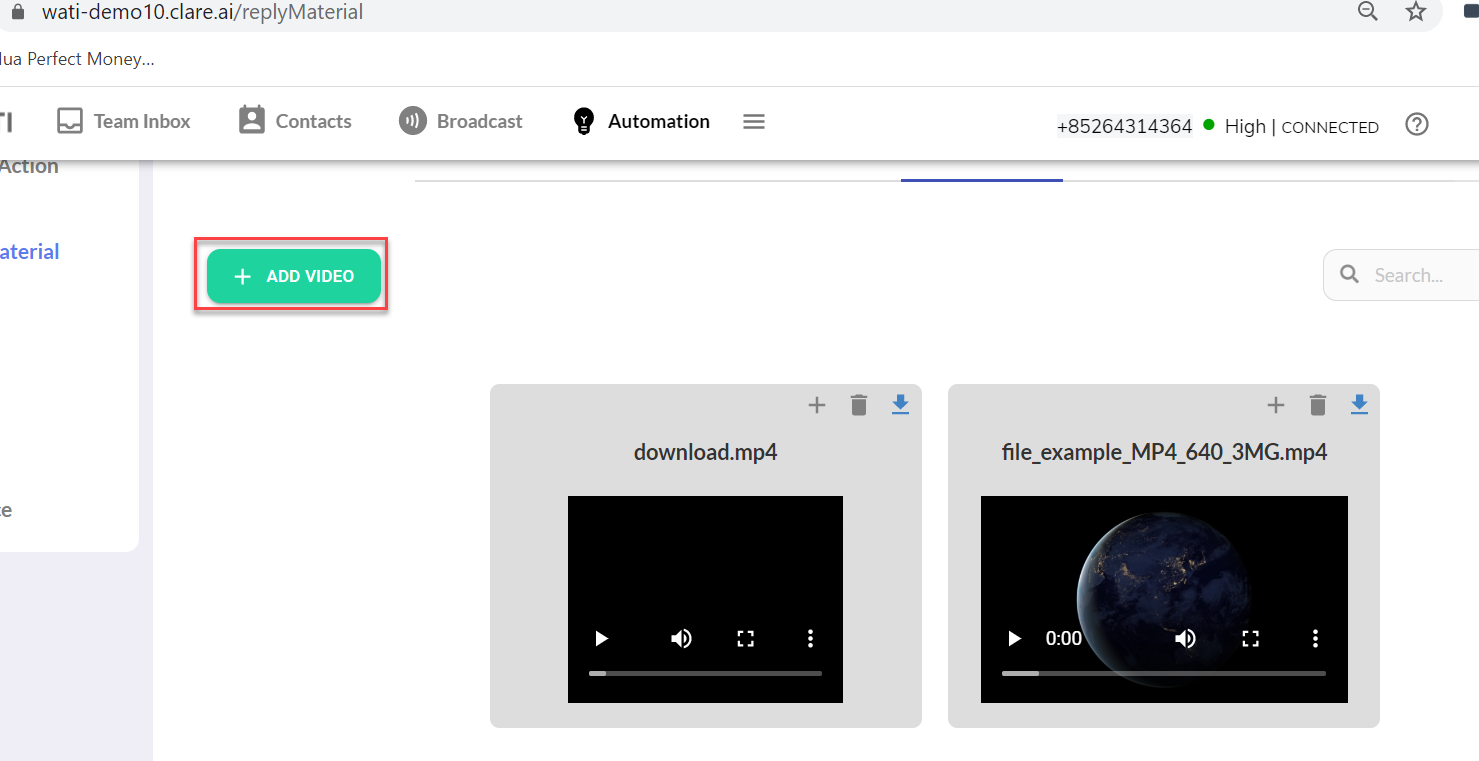
4. Reply Material: Video
- Click the menu "Video" in the "Reply Material" tab, then click the "Add Video" button
- Browse to select existing video on your PC/laptop and click the "Open" button then wait for the process to finish.
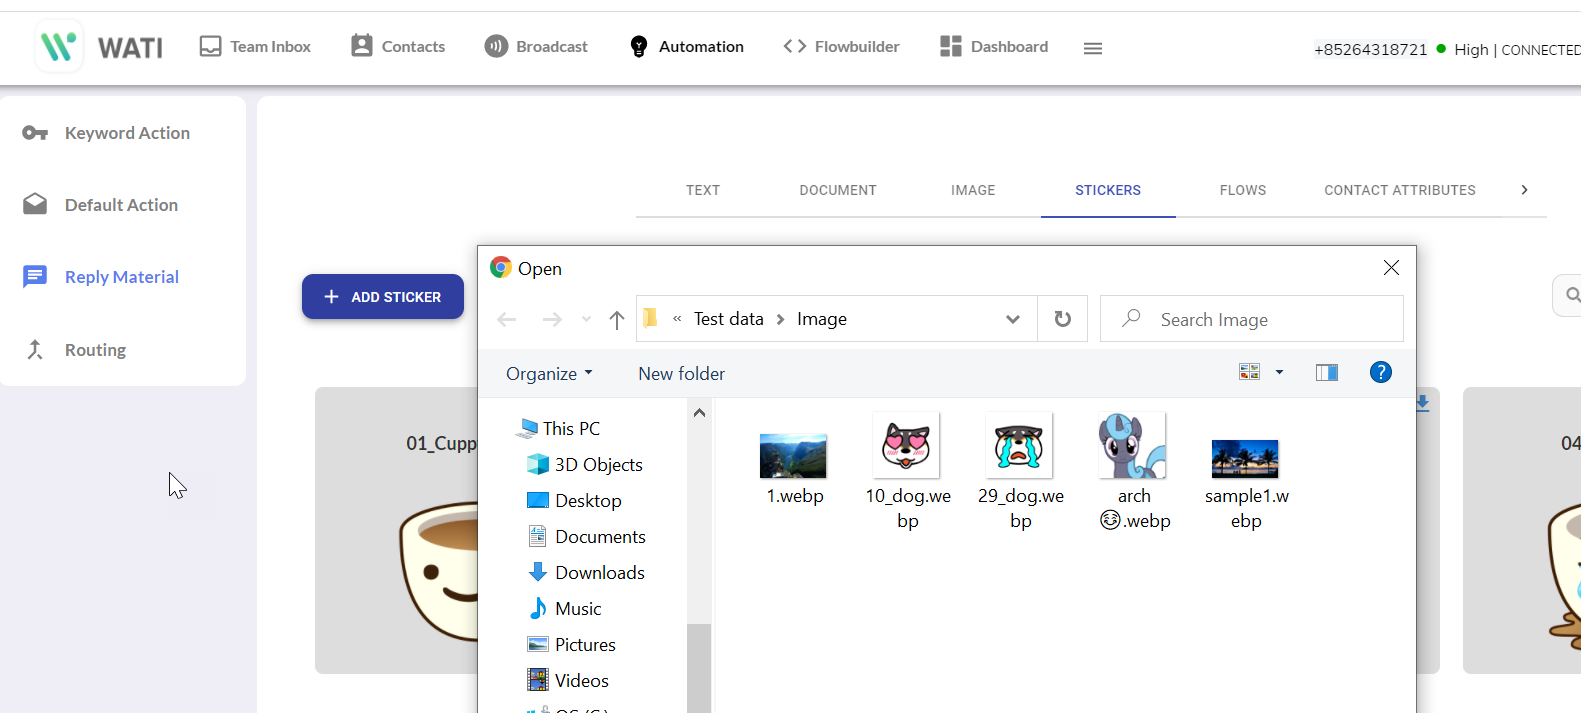
5. Reply Material: Stickers
- Click the menu "Stickers" in the "Reply Material" tab, then click the "Add stickers" button
- Browse to select existing stickers on your PC/laptop and click the "Open" button then wait for the process to finish.
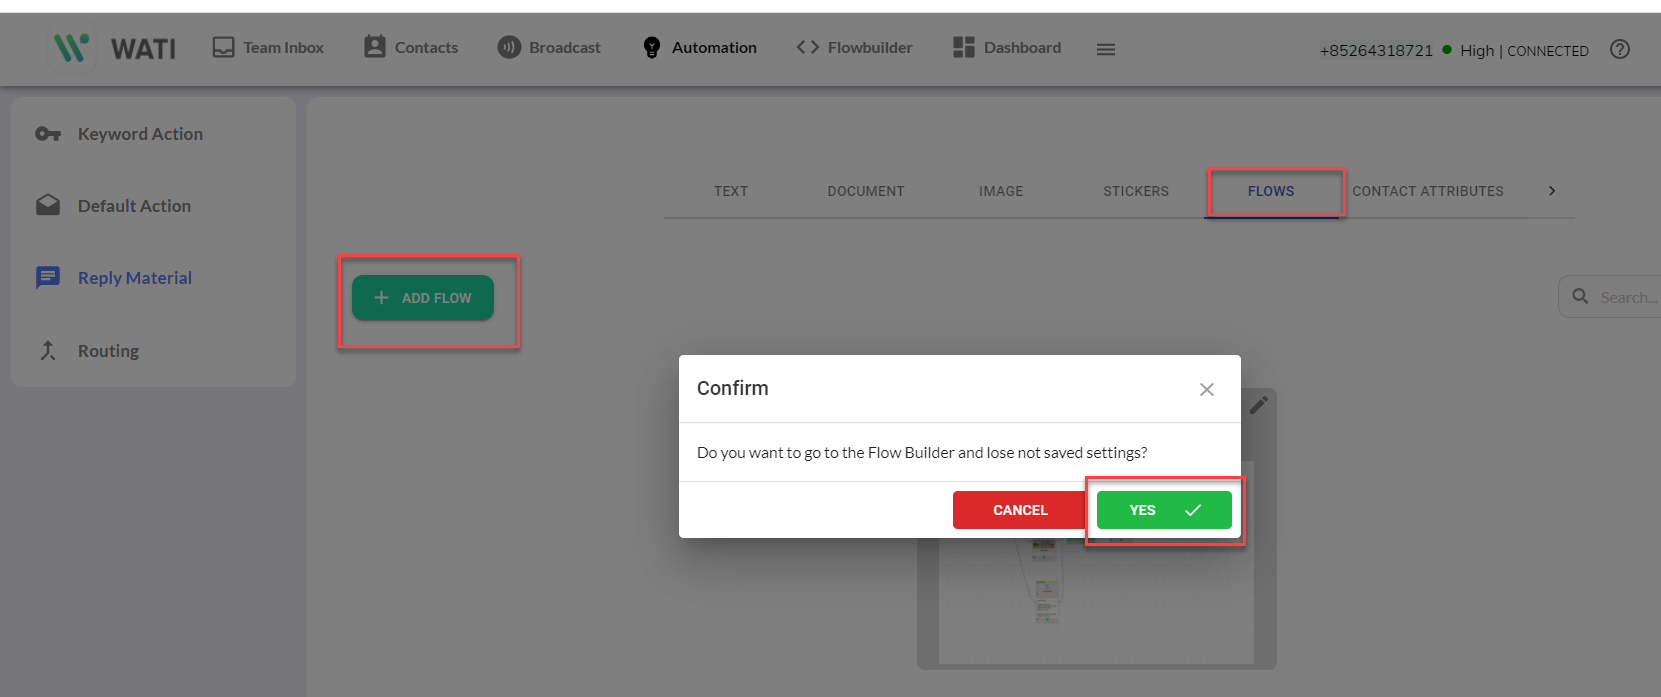
6. Reply Material: Chatbots
- Click the menu "Chatbots" in the "Reply Material" tab, then click the "Add Chatbot" button
- The system then prompts a message asking to redirect to the Chatbot Builder menu, please click the "Yes" button.
For details of creating a chatbot, please refer to the Chatbot Builder section:
- What and how to access Chatbot Builder?
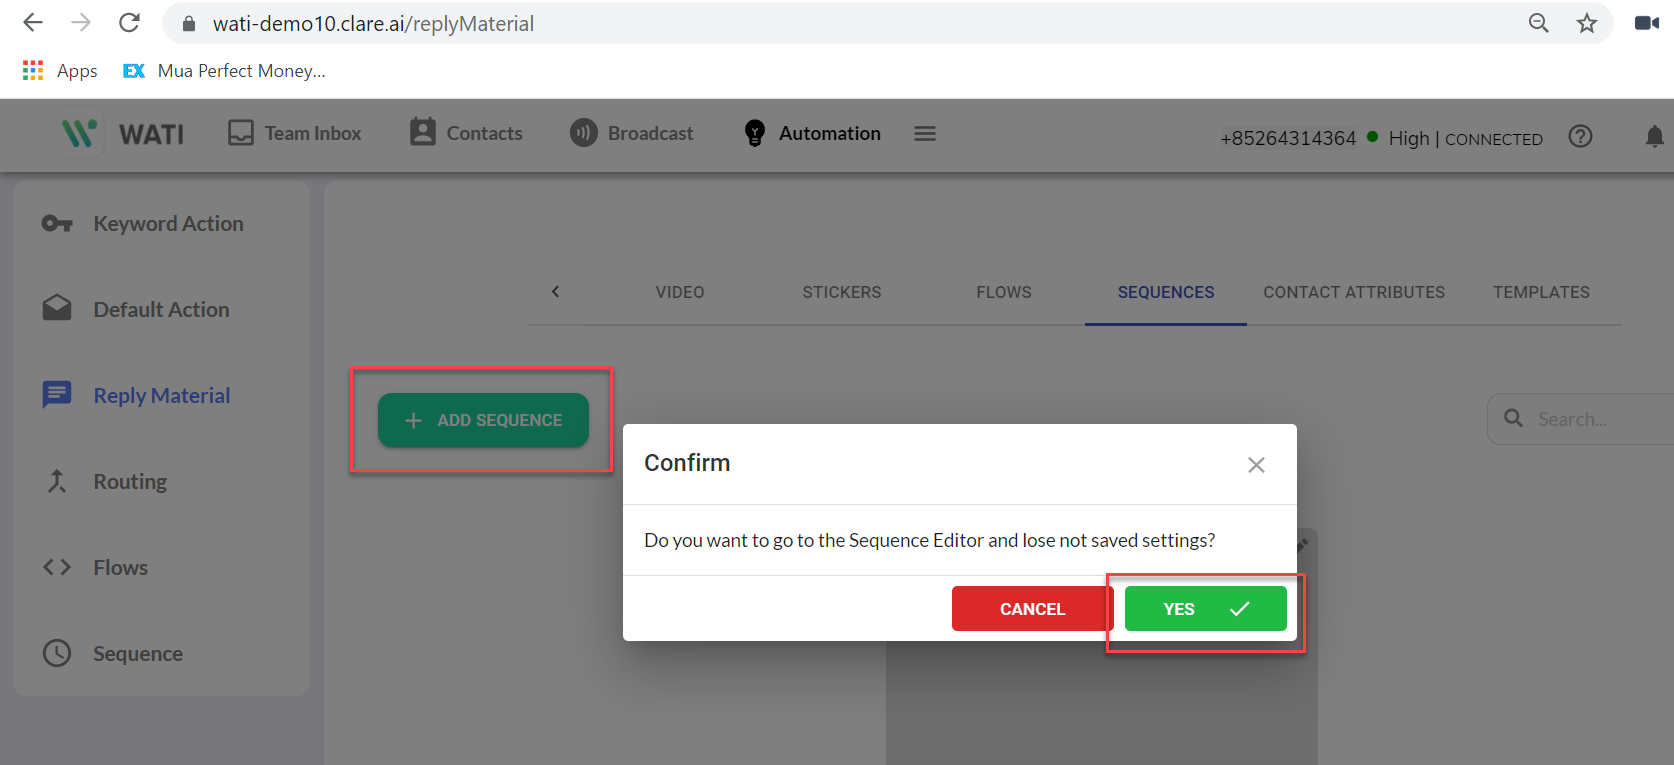
7. Reply Material: Sequence
- Click the menu "Sequence" in the "Reply Material" tab, then click the "Add sequence" button
- Click "Yes" from the confirmation popup (if has)
- From the subsequent step, please refer to the detail section to create the sequence: How to use sequence feature
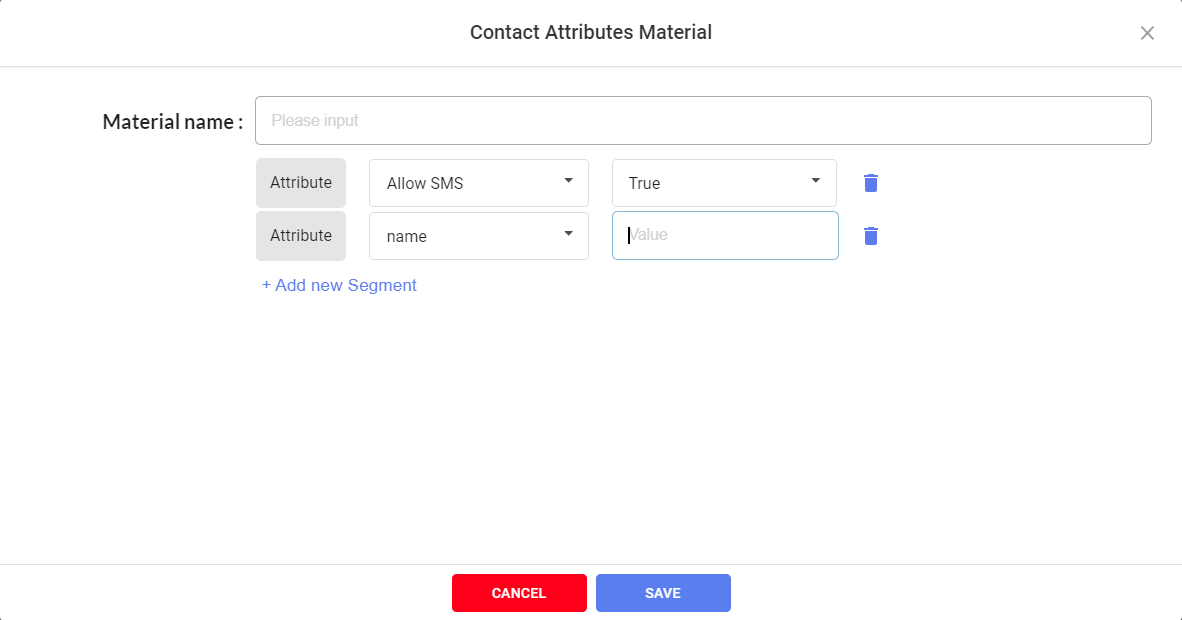
8. Reply Material: Contact Attributes
- Click the menu "Contact Attributes" in the "Reply Material" tab, then click the "Add action" button
- Fill in the material name
- Fill in the attribute and fill in its value. Note: There are some system attributes and custom attributes. To create custom attributes, the user can add from the Contact screen or from the Team Inbox screen (adjust in the Contact menu on the right side).
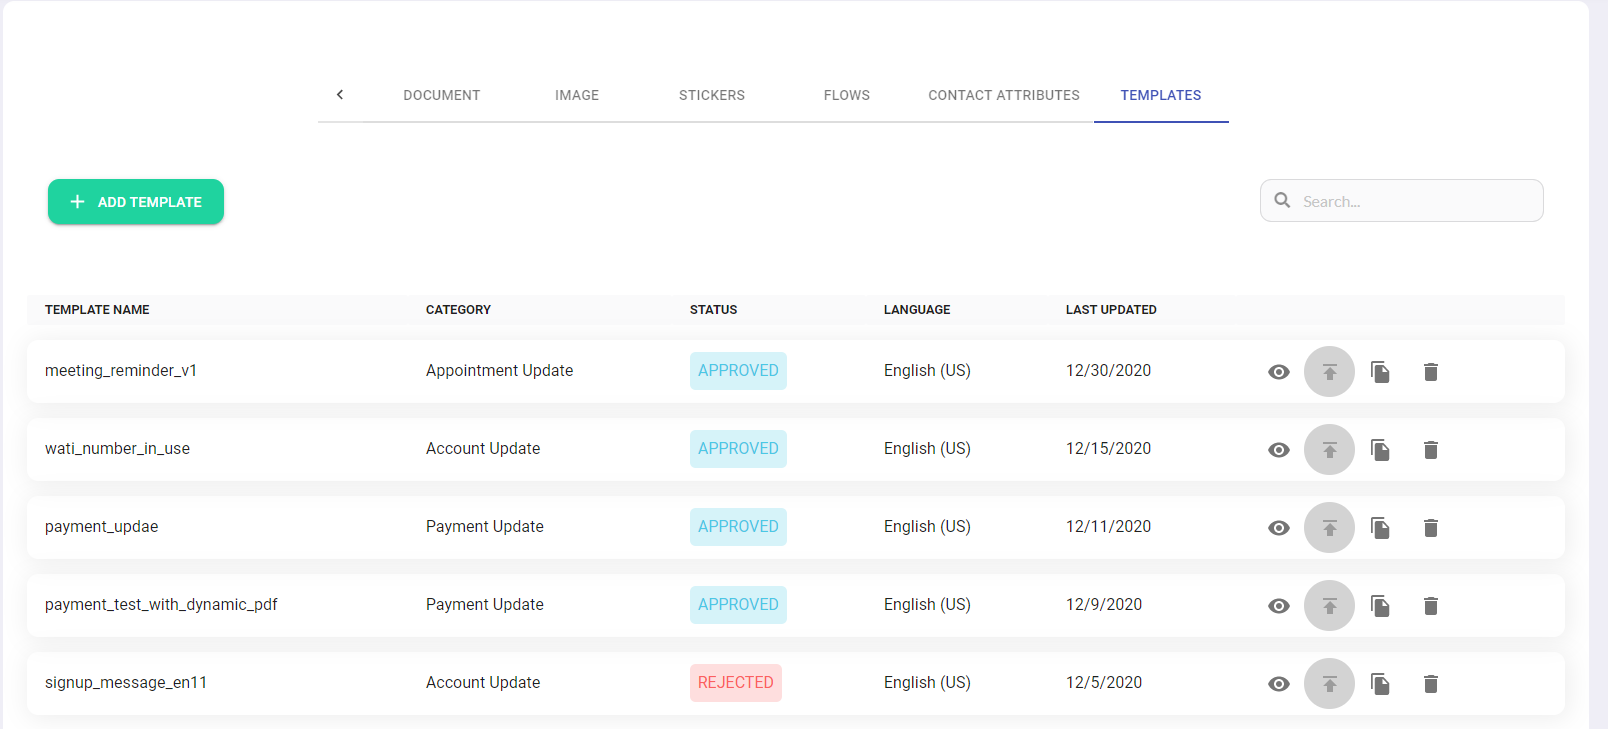
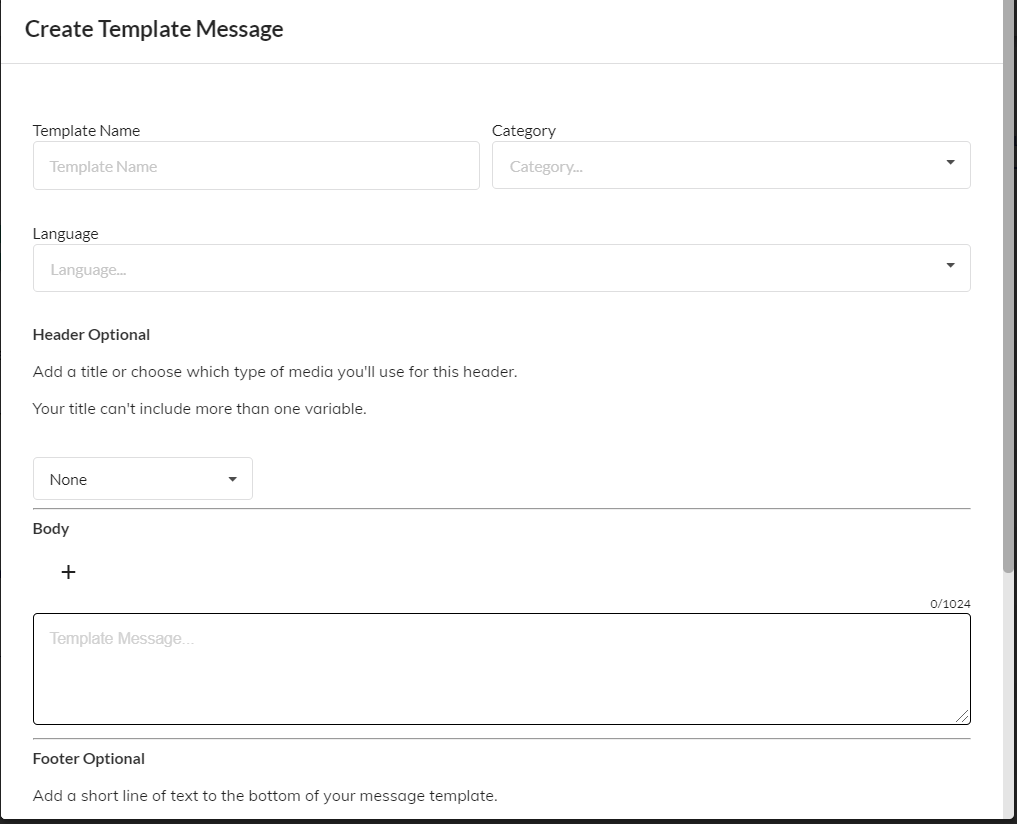
9. Reply Material: Template
If you want to use buttons in your auto-reply messages, you can use Templates
- Click the menu "Templates" in the "Reply Material" tab, then click the "Add template" button
- The popup to create a template is shown. The steps are the same as when creating a template from the Broadcast tab.
Supported media file types & size:
The below table shows supported media file types & sizes on this menu.
Media | Extension | Size |
Image | jfif, pjpeg, jpeg, pjp, jpg, png | 5 MB |
Video | m4v, mp4, 3gpp | 16 MB |
Audio | aac, m4a, amr, mp3, opus | 16 MB |
Document | text, txt, pdf, doc, docx, xls, xlsx, ppt, pptx | 75 MB |
Sticker | 100 KB |